Can You DIY Liquid Screed?
Pouring floor screeding by yourself, good idea… or bad idea? As leading experts in liquid screed & underfloor heating installation, we can confidently say this is not a task for someone with no prior experience. Floor levelling appears deceptively simple, but read on, and we will explain why it is a task often trusted to experienced tradesmen like ourselves.
Floor Levelling Needs Careful Calculations
Screed has to be poured to a certain amount in order to prevent cracking and delamination, where the screed starts to fracture into layers. This is generally a minimum of 15mm, which starts to become complicated when you are dealing with floors that are not level. Calculating the right pour depth to reach requires you to accurately measure your floor height and how much it changes across the foundation.
Floor Screed Has to be Mixed
While thin-application floor levelling compounds can be bought in liquid form, liquid screed isn’t typically sold in tubs, it’s sold in its dried form. This needs to be prepared sufficiently in a large mixer before you begin pouring. This may not be a problem with a very small application, but if you are looking to level the floor of your home, the scope can expand beyond your capacity.
Liquid Screed Pours Require Floor Preparation
You have to prepare the floor sufficiently or else the screed will experience issues. Pours require sufficient damp-proofing, or else the screed can be plagued by moisture problems. Expansion foam has to be laid, and any previous screed and floor levelling treatments need to be removed and sanded down. If this step is fumbled, your screed is likely to develop cracks, insufficiently bond with the sub-floor and have a reduced lifespan. In some cases, inexperienced DIYers have prepared the floor too much, sanding down the foundation of the home.
It Has to be Done in One Go
To achieve the best results, the pour has to be completed in one session, with minimal breaks in between. One of the most frequent DIY mistakes is when the pour is done in sections, with time spent preparing the dry mix into liquid state.
The issue is that the screed will start curing from the moment it is poured and settled, the rate depending on the formulation. Some screeds can set in just 24 hours. Uneven pours riddled with bubbles is what you risk by taking your time.
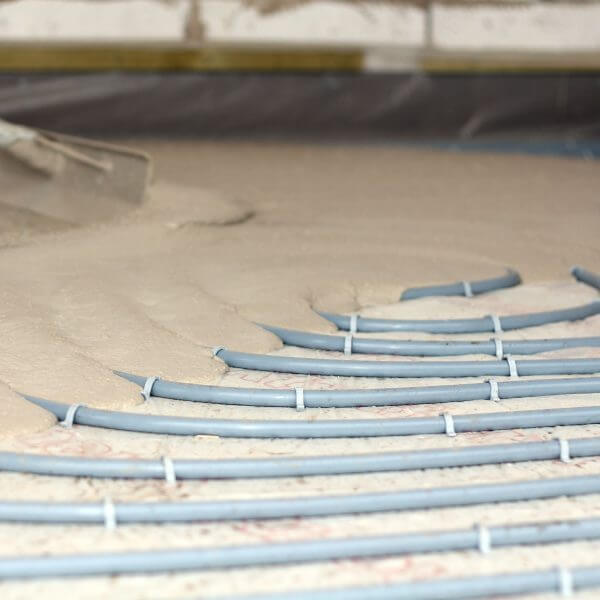
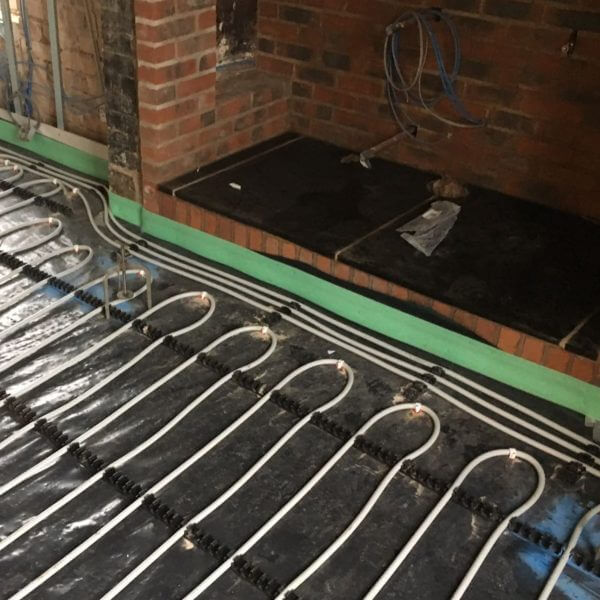
With an Underfloor Heating Installation, You Only Have One Try
If you are pouring liquid screed specifically to cover underfloor heating pipes, there are many factors to consider. Get one wrong, and you have no choice but to pull up the whole system, pipes and all, to try again. When EasyFlow is contracted to screed over a prior underfloor heating installation, we strive to double-check the design before we commit to the pour. In some cases, the previous installers did not calculate the right amount of screed to cover the pour.
The thickness of floor screeding is an essential factor in the efficiency of heat transfer between the pipes and the floor above. If the screed is too thick, the heat transfer can be slowed to a cruel pace, leaving you with cold rooms. Too thin, and it can crack and delaminate.
The floor screeding job also has increased risk of forming air bubbles because of the increased surface areas. Our experienced tradesmen know exactly how to spread and tamp the pour to leave a void-free finish. An inexperienced person may find this difficult to get right on the first try.
Let the Experts Help
At EasyFlow, we bring all the screed pre-mixed and ready to go to our pour sites to ensure minimal delays. With one specialist pouring and the other spreading and tamping, we minimise curing issues and eliminate any bubbles.
We calculate exactly how much screed you need, and choose the right formulation to ensure the best results you desire. Don’t risk hundreds of pounds if your calculations are off by a fraction, talk to our experts in a no-obligation consultation today.

Where To Find Us