Before installing heated floors, the area must be prepared exactly to our specifications as detailed below. Failure to comply with this will delay the installation of the liquid floor screed. Please contact us if you have any questions on 01743 343000 or email sales@easyflow.org.uk

Remove ALL dust and debris from the floor surface, as shown below.

Place floor insulation, ensuring ALL high/low points are removed from the sub-base so that the boards are laid flat (see below).

A polythene separating membrane is required with all liquid screeds. Lay the polythene ensuring that it is free from punctures and creases. Overlap joints, then seal with duck tape to avoid leakages. Allow the polythene to continue up the walls to the full depth of the screed. Make sure that the polythene fits tightly into the corners, securing with additional tape if required (see below).

Place a 5/10mm expansion foam around the perimiter in all rooms using tape to secure it to polythene (see below). The floor is now ready to pour EasyFlow liquid floor screed. It is imperative that this preparation is carried out to the highest standards.

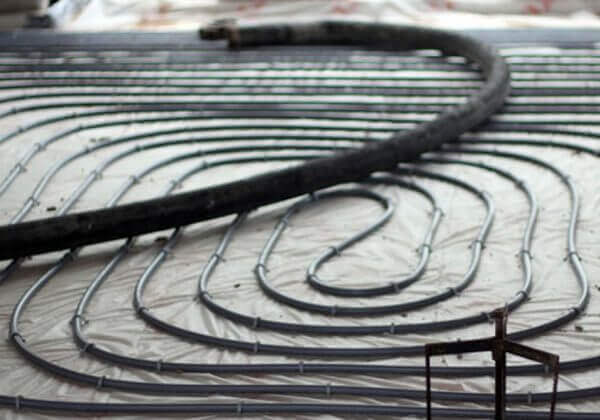
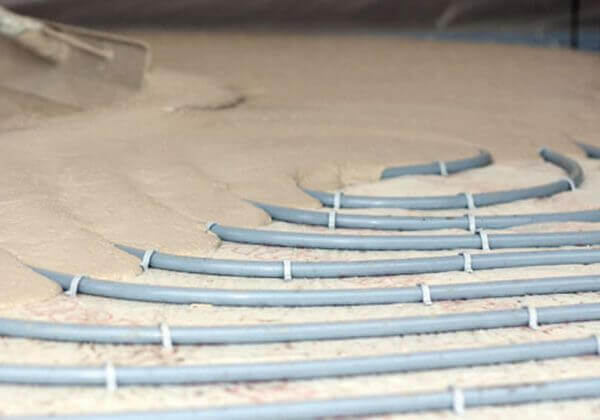
Please skip this step if you are using a Tray System. All pipes to be clipped securely, piercing the insulation. The clips are self-sealing, so will not leak when EasyFlow liquid floor screed is poured. IMPORTANT - water systems should be filled prior to the application of EasyFlow liquid floor screed to reduce the risk of the pipes floating when screed is poured.

Please go back to Step 5 if you are using a clipped pipe system. Plumbers merchants usually supply a polystyrene-backed carboard expansion strip with the trays. Place as indicated in the picture below. It is recommended that the polythene seperating membrane is still used with this method to provide a proper tanking of the area.

Where To Find Us